Showing posts with label handmade. Show all posts

Wednesday, 19 October 2011

Croatian Creative Forces

My hubby is recently occupied with airsoft, military tactics and so on...thus the title of this post, but here is where the connection ends :D

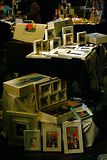
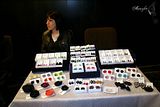
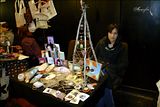
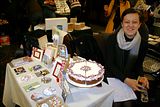
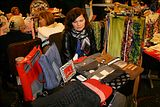
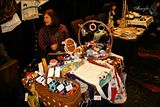
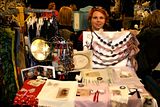
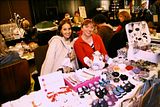
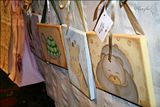
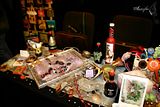
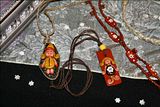
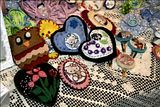
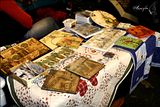
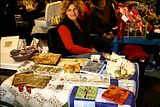
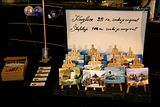
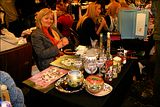
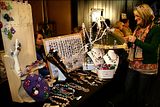
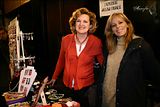
Past Sunday I visited an interesting happening in Zagreb. Young people organized an exhibition/fair, gathering people who make handmade products mostly in their free time.
The space they choose was once a small movie theater. Since it's their first attempt in organizing this kind of event, I'm inclined to overlook the lapses, but some were to great not to mention, e.g. there was no poster at the entrance informing people passing by that in there something interesting is happening.
It was such a beautiful sunny day, here in Zagreb, people often roam the streets enjoying their walks, meeting friends for a coffee, there is a church nearby... lots of possible visitors uninformed about the event... Result was that most of the people there were friends of the ones who exhibited and therefor the sales were scarce.
The lightning was poor, and the place itself was to small to explore freely exhibits without bumping other people or standing in the way.

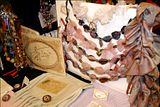
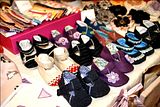
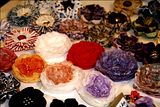
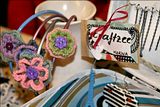
Here is the positive side of it all, people and their handmade work ;)


Tuesday, 6 September 2011

Wire wrapped necklace- free tutorial

I have a new tutorial for you. This time I made a tutorial for a wire wrapped necklace. Some of you may notice that it includes the basics of herringbone wave by Eni Oken, mine is slightly different. Here you can check the tut she made, it's free ;)
You will also notice that there are no wire measurements, that's because you can make this necklace in any size you want, just be careful when choosing beads so they wouldn't be too big or too small.
If this is your first try with wire wrapping, first check this free tutorials with wire wrapping basics:

1) Basic weaving techniques

2) Basic weaving- adding a new wire


Enjoy!

Friday, 19 August 2011

Idea for a birthday present

A birthday present doesn't have to be expensive to be appreciated, sometimes the time and effort you invest in it means much more than the number of $$$ you've spent.
There are lot of blogs, forums and sites where you can find great ideas and instructions on how to make some things yourself. The item you make or decorate doesn't have to be perfect, but the love you make it with will certainly bring a wide, happy smile on the recipients face ;)

Most of my friends already got my jewelry for their birthdays, so I had to move on :D

Here is the picture I made for my friends birthday (click on the photo for larger sized image).


First I bought a simple glass picture frame and some paper napkins. Acrylic colors,patina liquid, decoupage glue and gloss varnish I already had at home.

On my way home I was contemplating on how to arrange the paper napkins, which one to use to match the colors and motifs...

When I formed the basic idea on how this should look, I arranged everything on the frame to see if it would work in practice and finally got on to work.

With a small sponge I applied a first layer of light ivory acrylic color (it's recommended to use light colors for base, usually white) on the whole glass surface (it's better to use the sponge then brush because you get the even layer of color through the whole surface and there are no lines which you'll get when you apply the color with the brush), then I used my hair dryer to speed up the process :)
After that I started adding the napkins starting at the bottom. Here you can find decoupage instructions .
When I added all the motifs from paper napkins where I wanted them to be, I waited for a while for decoupage glue to dry.
Here starts the really fun part... I mixed some colors, hid all the edges and merged all the motifs in a whole. After another session with a hair dryer I decorated the picture with platinum white contour, applied some patina liquid (use the sponge) and in the end finished it with the gloss varnish.

I hope she will like it, I sure enjoyed making it :)


Tuesday, 16 August 2011

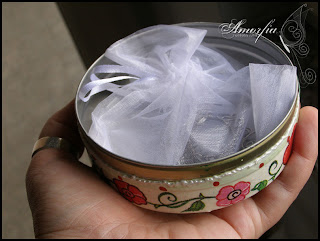
Decorated metal box

One of the favorite necklaces I made went on a long trip from Croatia to far Australia so I had to make sure it gets there with as much comfort and safety I could provide.
I have few of this sad, unused metal boxes left and forgotten after we ate all the candies they sheltered, so I decided to find them a new purpose in life and turned them into decorated boxes for jewelry.
I'm a total beginner when it comes to decoupage technique, but this little I know was enough to realize the idea I had in mind.
Here is the result, what do you think?


Sunday, 22 May 2011

Deep sea

Recently finished pendant made of glass cabochon, czech glass beads and silver plated wire.
Hope you like it :)

Related Posts Plugin for WordPress, Blogger...